Create Your Leverless Controller
Design a unique fighting game controller that reflects your style and personality. Our team will handcraft your vision with precision and care.
Customer Gallery
Get inspired by these custom designs from our community

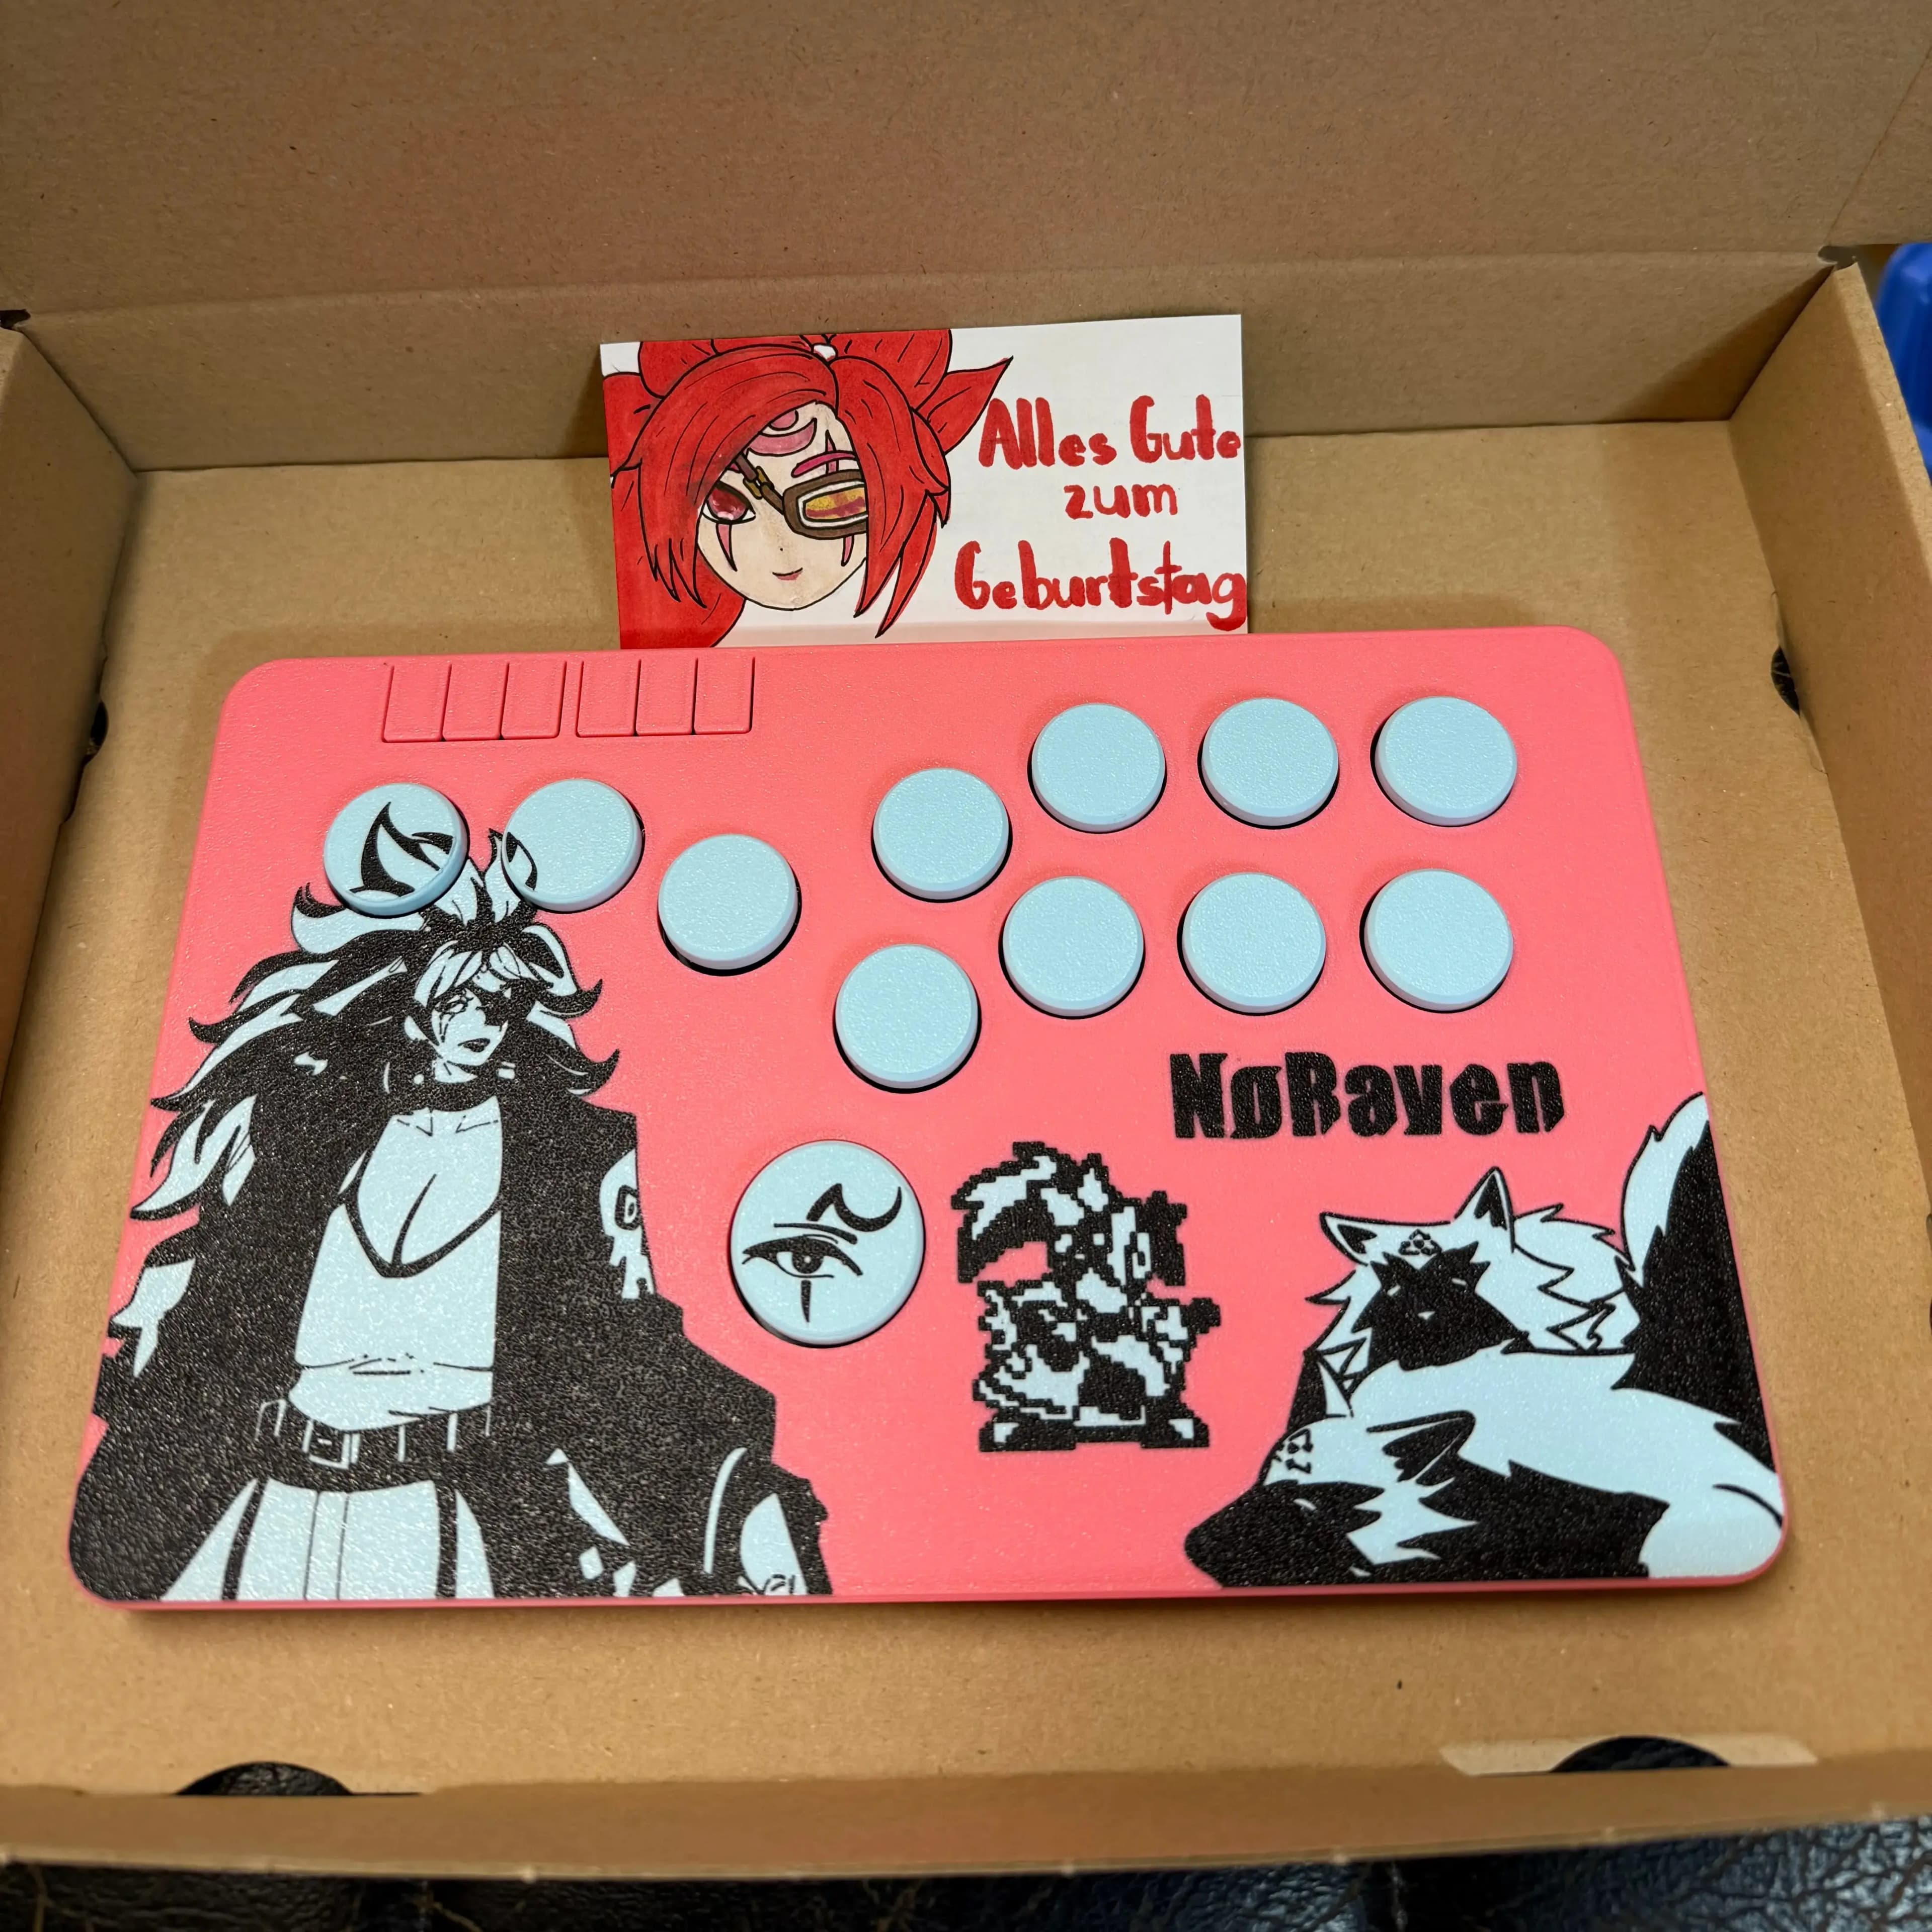
Customer Creation
This unique design was created for a fighting game enthusiast based on their personal preferences. Each custom hitbox is individually crafted after consultation with the customer.
Design Process
- 1
Template
Download our Flatbox Template and open it in Photopea (free online editor).
- 2
Add Artwork
Add your character art (PNG with transparent background works best) and position it to avoid button areas.
- 3
Export
Use the Rectangle Selection Tool, then hit Refine Edges. Export as PNG and upload to a file sharing service.
- 4
Submit
Fill out the form with your sharing link and details. We'll review and contact you to finalize your order.
Need help? Join our Discord for support!
Custom Hitbox-Style Controller
- Premium Handcrafted Quality
- Custom Artwork Integration
- Choice of Switch Types
- Multi-Console Compatible